Warning: Photos include graphic images of animal hide tanning
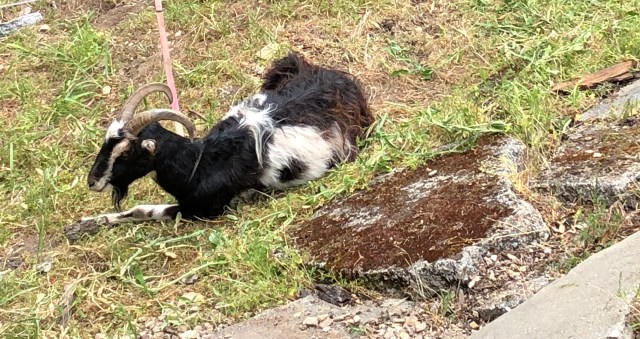
When my geriatric third-hand goat became infirm I determined it was time to end his suffering. With the help of his previous owner we humanely euthanized him. While the meat was not edible due to his age I decided to experiment with curing the hide. With the help of his previous owner who has experience with this type of thing I skinned the carcass before burying it on my property. I did not take pictures of the skinning process but below are pictures of the curing process.
Animal hides have be used by every culture since the beginning of time. In the Middle Ages the processing of hides was typically done in stages by different guilds. It started with the butcher, followed by the skinner, then to the fellmonger (raw hide whole seller), then finally to the tanner. Once the hide was tanned it would go the leatherworker to be made into the final product. Leatherworkers were divided into specialties like saddle makers, glovers, cobblers, etc.
The processed I used was technically tawing as it uses a combination of alum and salt where tanning uses tannins derived from plants. As this was my first time curing any hide I used a commercially purchased kit. In period tanners would also have purchased the chemicals needed from other sources. Tawing produces a stiffer end product than tanning and is not waterproof so is prone to rot if it gets wet. I also chose to keep the hair on as I intend this to be a rug and I was fond of his coat. To remove the hair I would have soaked the hide in lime for several weeks then scraped the hide.

the raw hide
As I was unable to process the hide immediately after butchering I stored it in the freezer for a few months. Freezing prevents rot and kills any microbes that may be on the hide.

the scraped hide
The hide has been scraped with a sharp knife to remove the remaining flesh and fat. In hindsight I should have removed more but at the time I thought this was enough.

the salted hide
Once the hide is fleshed a layer of salt is spread on it to draw the moisture out and start the preservation process. I let it sit like this for about a week.
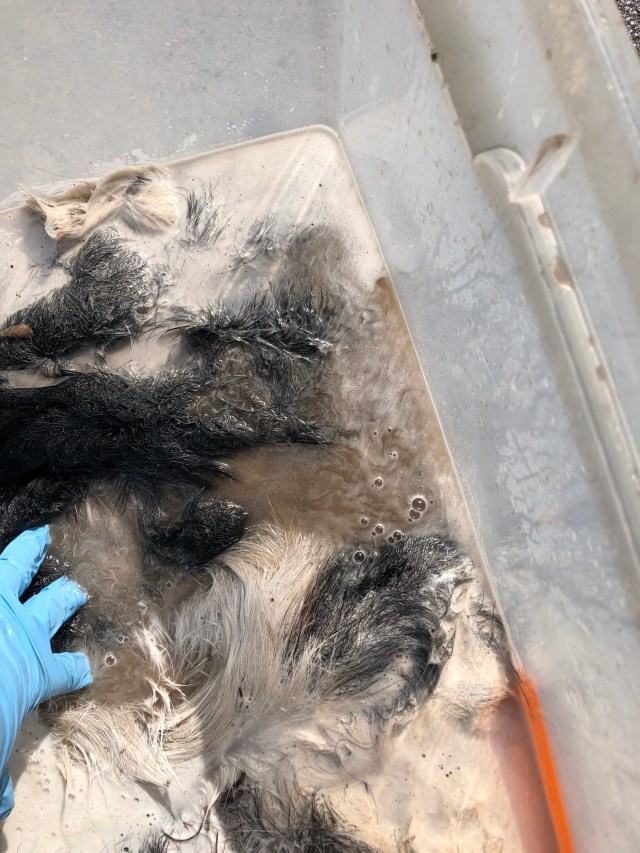
rinsing the hide
The hide is then rinsed in soapy water to remove the salt, dirt, and debris. It took several rinsings before the water was clear.

the clean hide
The hide is then hung to drain the majority of the water.
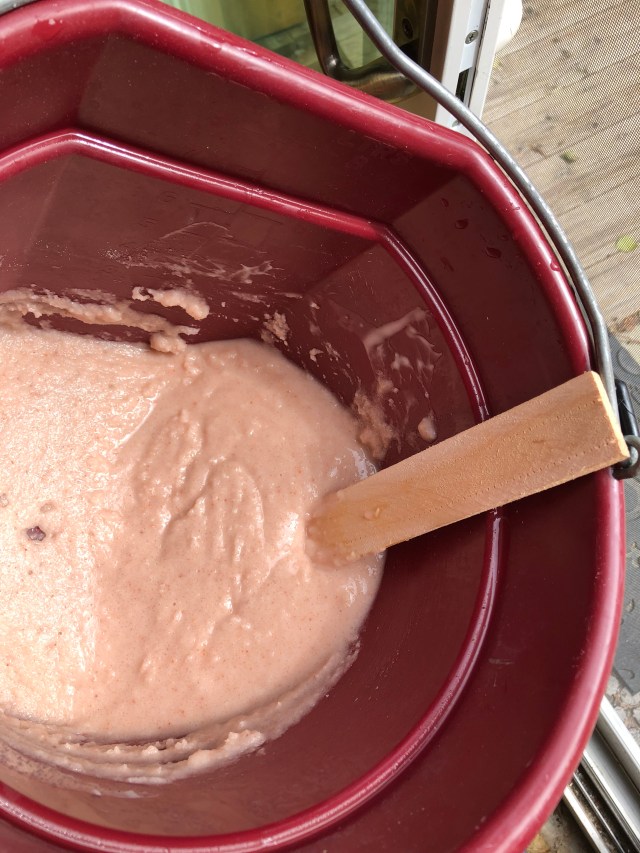
the curing agent
This slurry is potasium alum mixed with water.
the sludge hide
The slurry is spread evenly onto the flesh side of the hide then the hide is folded in half, flesh sides together.

The hide is rolled into a compact tube.

rolling, so much rolling
The hide is placed into a plastic bag to contain the moisture and rolled for about an hour a day for a week. The agitation helps the alum slurry saturate the hide.
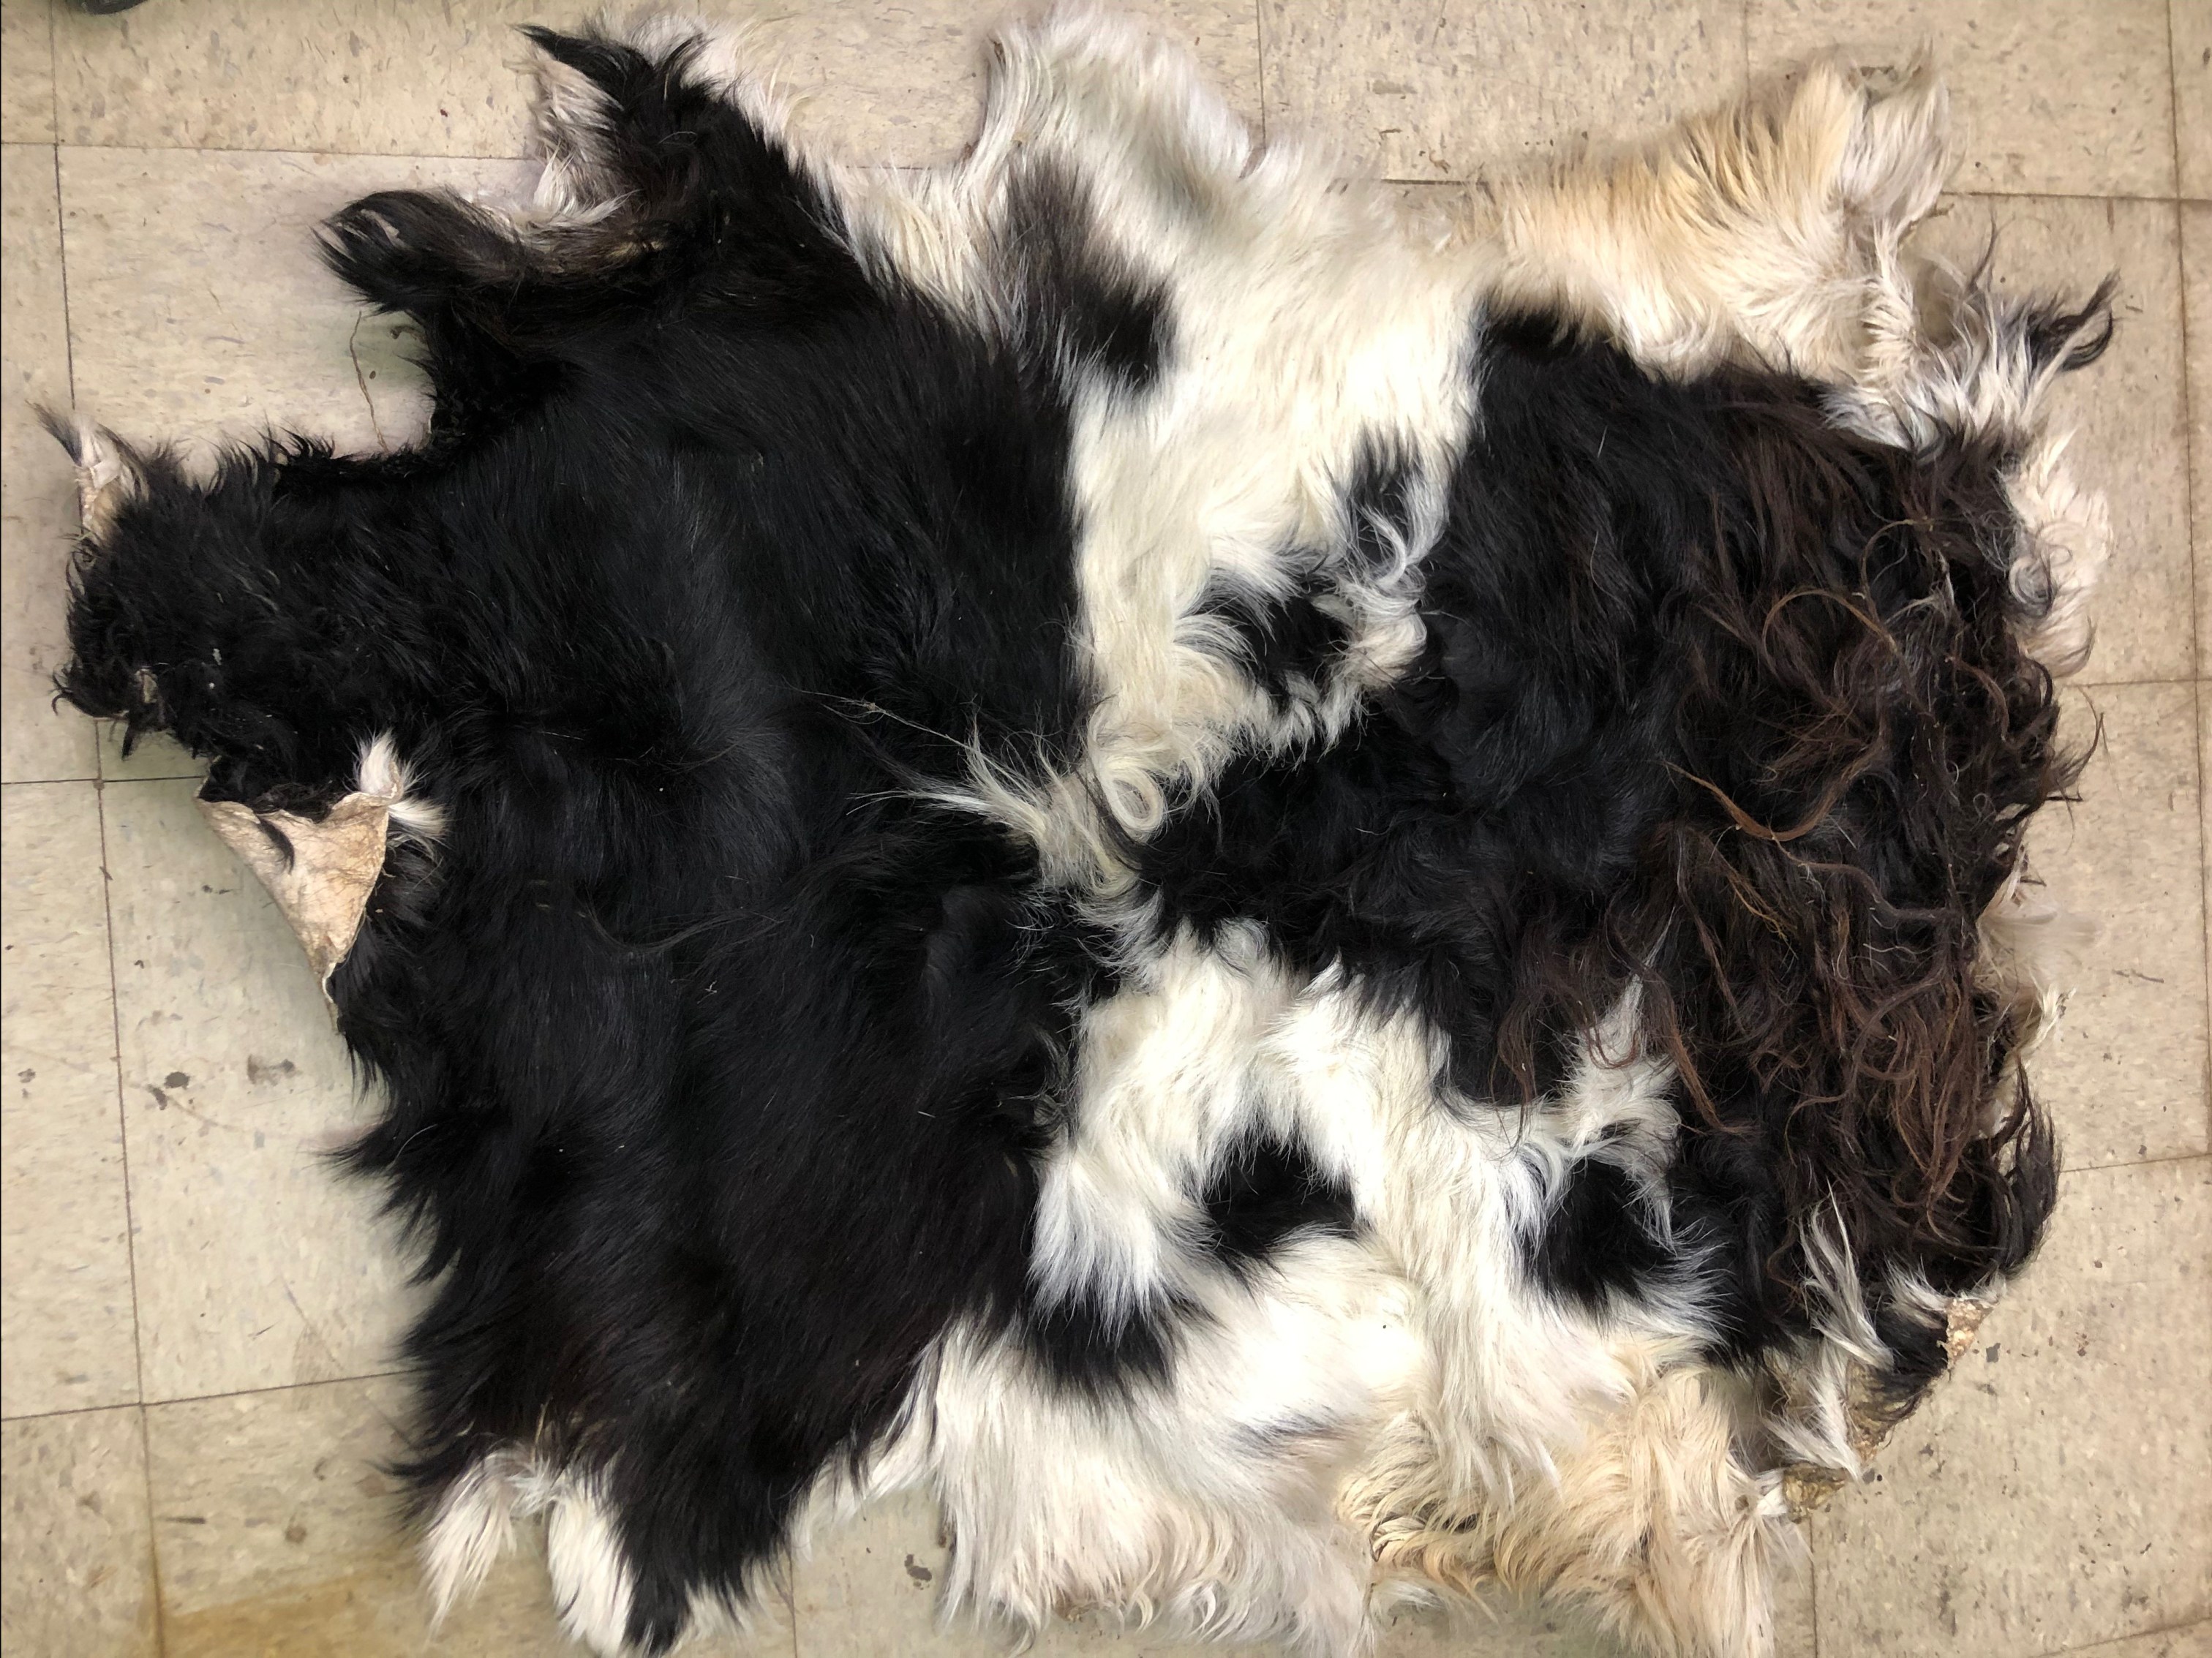
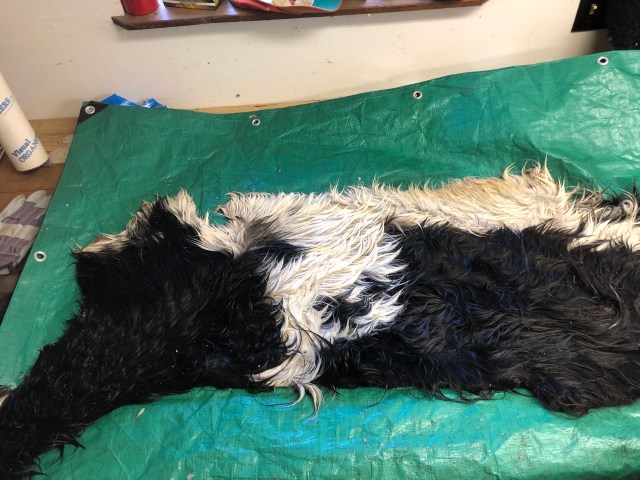
the dried hide
The fur is now clean and soft.

the dried hide
Unfortunately due to my inexperience in fleshing the other side is not as smooth as I would like.

the end product
A lanolin lotion has been massaged into the tawed hide to make it more supple. I also used a sharp knife to remove the remaining tendrils and sandpaper to help break up the cells and smooth any rough spots. As this will be a rug I will line the back with a heavy canvas to add strength.
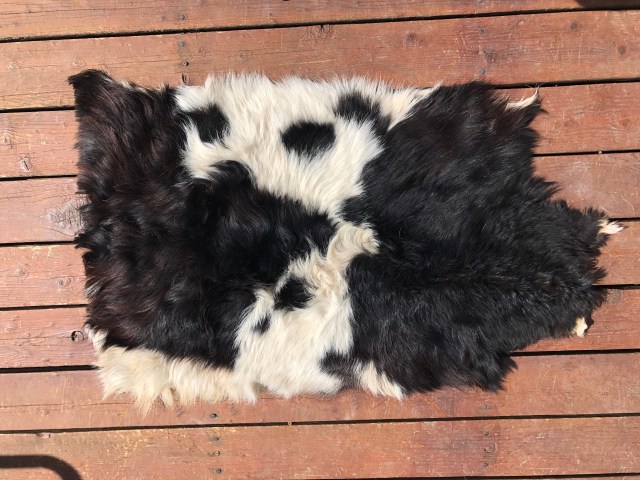
I finished by trimming the long sunburnt hair down the center back as well as using a sharp knife to trim the edges into a more symetrical shape.
For my first attempt a curing a hide I am pretty pleased with it. I learned a lot and plan to apply those learns to my next attempt. I also plan to try my hand at tanned leather and velum.
